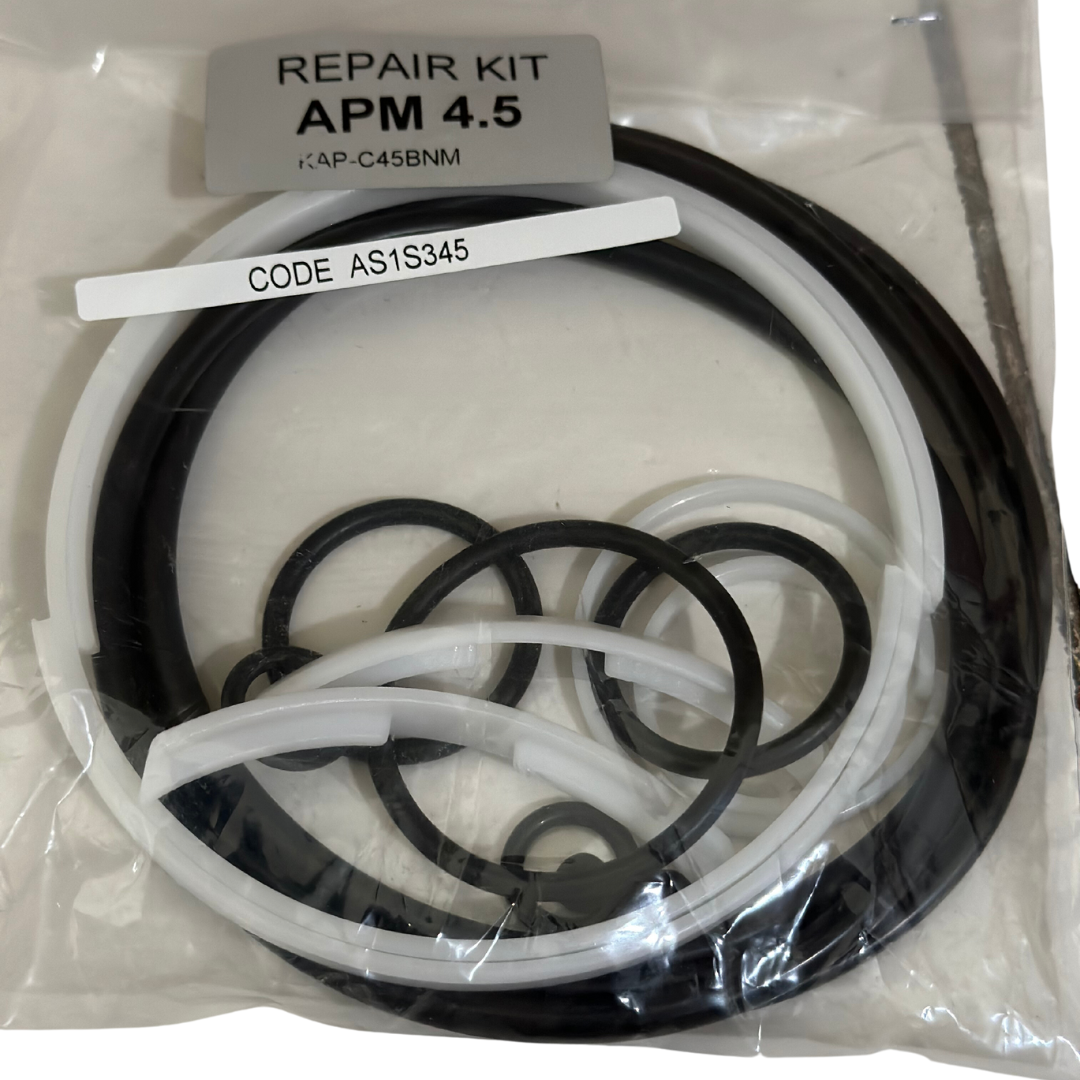
Repair Set Actuator
General
Please read these operating instructions carefully and keep them for maintenance and repair works nearby the actuator.
The actuator parts are subject to normal wear and tear and must be checked and exchanged whenever necessary.
The service life of the actuator depends on the application and the environmental conditions.
- Medium to operate the actuator: dry or lubricated, filtered air. In case of single acting actuators it is recommended to use a filter for the free bore of the spring chamber to avoid the contamination of the inside of the cylinder by dust or dirt.
- When fully depressurized the actuator can be optionally operated by handle or gear box.
- All actuators have a 90° stroke, adjustable by +/-3° in open position (+/-5° for series APM- in open/closed position).
Safety measures
- Never exceed the maximum pressure stated on the identification plate.
- Ensure that the compressed air supply is correctly connected to guarantee the proper function of the actuator - especially after maintenance works on the actuator.
- Disconnect the pneumatic actuator from the compressed air and power supply before starting maintenance or repair works. Bleed the actuator. Then remove the actuator from the valve.
- Don't try to dismantle the spring units, as this can lead to serious injuries. Replace the complete spring units only if they are defective.
Mounting the actuator on the valve
- Verify that distances between centres and holes of the actuator correspond to those of the valve or that of the mounting unit.
- The actuator can be mounted in any position. Before mounting the actuator on the valve, make sure that the pinion of the actuator and the stem of the valve are properly aligned to avoid any friction.
- If the valve has already been installed between the flanges, make sure that there is no pressure in the tubing so that the disc will not accidentally be opened or closed.
- Mounting of the actuator on the valve can be carried out directly (figures 1A and 18) or by using a mounting bracket (figures 2A and 2B).